In this tutorial, we will show you how to install MongoDB on Windows. MongoDB 2.2.3 Windows 7 Note: The MongoDB does not require installation, just download and extracts the zip file, configure the data directory and start it with command “mongod“.
Download MongoDB from official MongoDB website. Choose Windows 32 bits or 64 bits. Unzip, extracts to your prefer location, for example : d:\mongodb\.
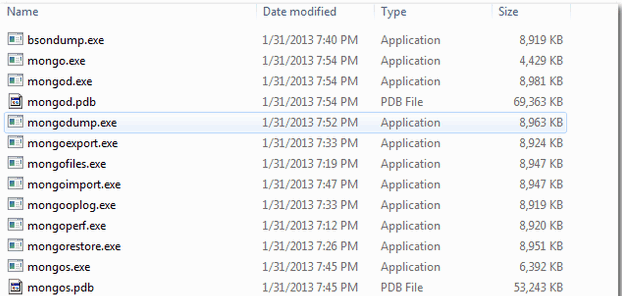
In MongoDB, it contains only 10+ executable files (exe) in the bin folder. This is true, and that are the required files to MongoDB, it’s really hard to believe for a developer like me who come from a relation database background. Figure : Files under $MongoDB/bin folder
Note:It’s recommended to add $MongoDB/bin to Windows environment variable, so that you can access the MongoDB’s commands in command prompt easily.
Create a MongoDB config file, it’s just a text file, for example : d:\mongodb\mongo.config

Note: MongoDB need a folder (data directory) to store its data. By default, it will store in “C:\data\db“, create this folder manually. MongoDB won’t create it for you. You can also specify an alternate data directory with --dbpath option.
Aspired to become an MongoDB?
Explore the post to discover the know-hows on MongoDB.
Use mongod.exe --config d:\mongodb\mongo.config to start MongoDB server.

Uses mongo.exe to connect to the started MongoDB server.

Add MongoDB as Windows Service, so that MongoDB will start automatically following each system restart. Install as Windows Service with --install. 
A Windows service named “MongoDB” is created. 

1. Install MongoDB as Windows service on Windows 8, but hit “Access is denied.” error message : 
To fix it, run the Command Prompt with Administrative Privileges – right click on the command prompt icon, select run as administrator.
You liked the article?
Like: 0
Vote for difficulty
Current difficulty (Avg): Medium

TekSlate is the best online training provider in delivering world-class IT skills to individuals and corporates from all parts of the globe. We are proven experts in accumulating every need of an IT skills upgrade aspirant and have delivered excellent services. We aim to bring you all the essentials to learn and master new technologies in the market with our articles, blogs, and videos. Build your career success with us, enhancing most in-demand skills in the market.

