Microsoft InfoPath 2010 helps you to design rich form solutions, even if you are a new InfoPath user. Automation and simplified workflow helps you more quickly and easily start to build simple forms. Then, design and layout improvements such as the ribbon and the new Backstage window help make it easier to find the tools to help you create attractive and effective forms, which then helps make it easier for people to fill out the forms. InfoPath 2010 also integrates more deeply with SharePoint, and provides increased feature and control support for browser forms. This helps make it easier to use the Web to gather and keep information. InfoPath 2010 auto-generates simple forms from SharePoint lists and other data sources, providing predefined page and section layout styles, design tools and Quick Rules logic tools. For advanced forms, easy steps enable you to add fields and custom logic. You can also add features such as dynamic sections and data lookup. Finished forms are published with just one click.
We are going to create a simple form using InfoPath 2010 and publish the form to a SharePoint 2010 library and open the form using Web Browser
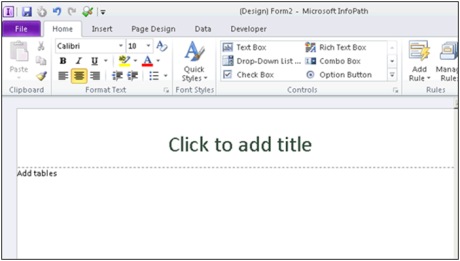
1. Open InfoPath 2010 Designer and Click on File | New | Select Blank Form | Click on Design Form

2. Blank Form Template in InfoPath 2010 is created. Now I want to insert tables
3. Click on Insert tab and select the table format which you want

4. Adding control to InfoPath 2010 Forms To add controls to your form, click on HOME tab and go where it says Controls

5. If you want to add InfoPath form 2010 controls similar to InfoPath form 2007, just click on the control pane

6. Now your control pane is will look like InfoPath 2007 format.

7. Let’s go and add controls to our new InfoPath 2010 forms. I added four input text fields. To go to properties of the field, just double click and name the properties.

Properties of the Fields in InfoPath 2010 forms


9. InfoPath 2010 Submit Form Options:
If you want to submit the form to SharePoint Document Library, put a check in Allow users to Submit this form Other options are “Show the submit button in both the ribbon and the info tab in the InfoPath filter

| Want to acquire industry skills and gain complete knowledge of SharePoint? Enroll in Instructor-Led live SharePoint Training to become Job Ready! |
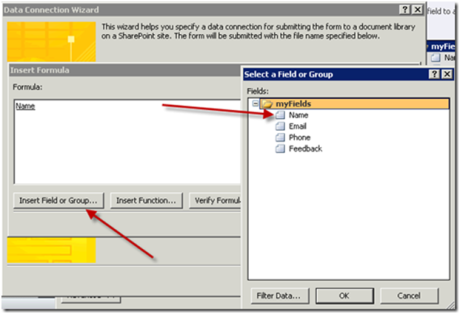
Let’s go and click Add to create new data connection to SharePoint 2010 Document Library

In File Name, I selected as name and the form will be submitted with the file name specified below

To insert File Name : Click on Fx Icon
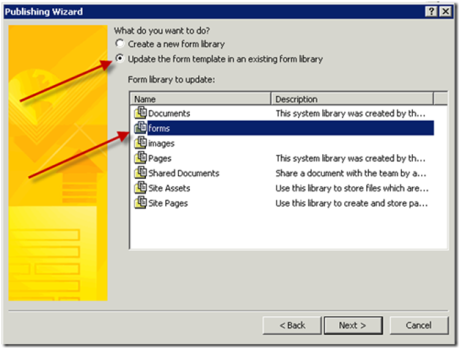
Publish form to a SharePoint Library - Create or update a form library form on SharePoint - Users can access this form Online

Enable this form to be filled out by using browser if you want user to fill the form online. Also we are publishing this form to a document library

Since I already have a form library created, I am going to update my form template in an existing form library


Form filed information are captured in Form Library in SharePoint 2010

You liked the article?
Like: 0
Vote for difficulty
Current difficulty (Avg): Medium

TekSlate is the best online training provider in delivering world-class IT skills to individuals and corporates from all parts of the globe. We are proven experts in accumulating every need of an IT skills upgrade aspirant and have delivered excellent services. We aim to bring you all the essentials to learn and master new technologies in the market with our articles, blogs, and videos. Build your career success with us, enhancing most in-demand skills in the market.

