Creating Logical Dimensions with Level-Based Hierarchies in OBIEE
Logical Dimensions with Level-Based Hierarchies in OBIEE
In this set of steps, you add logical dimension hierarchies to the business model. A logical dimension represents a hierarchical organization of logical columns belonging to a single logical dimension table. Logical dimensions can exist in the Business Model and Mapping layer and in the Presentation Layer. Adding logical dimensions to the Presentation layer exposes them to users, which enables users to create hierarchy-based queries. You implement four logical dimensions for ABC: Time, Product, Office, and Customer. Creating logical dimensions with hierarchies allows you to build level-based measures, define aggregation rules that vary by dimension, provide drill down on charts and tables in analyses and dashboards, and define the content of aggregate sources. To create logical dimensions with level-based hierarchies, you perform the following steps:
• Open the Repository in Offline Mode • Create a Logical Dimension for Product • Create Logical Levels
• Associate Logical Columns with Logical Levels • Set Logical Level Keys • Create a Logical Dimension for Time • Associate Time Logical Columns with Logical Levels • Create a Logical Dimension for Customer • Set Aggregation Content for Logical Table Sources • Test Your Work
Open the Repository in Offline Mode
1 . Return to the Administration Tool, which should still be open. If not, select Start > Programs > Oracle Business Intelligence > BI Administration. 2 . Select File --> Open --> Offline. 3. Select BISAMPLE.rpd and click Open. Do not select any BISAMPLE repository with an extension, for example, BISAMPLE_BI0001.rpd. Recall that these are the repositories that have been loaded into Oracle BI Server memory. 4. Enter BISAMPLE1 as the repository password and click OK to open the repository.
These core tutorials will help you to learn the fundamentals of OBIEE 11g. For an in-depth understanding and practical experience, explore "OBIEE 11g Training".
Create a Logical Dimension for Product
1 . In the BMM layer, right-click the Sample Sales business model and select New Object --> Logical Dimension --> Dimension with Level-Based Hierarchy to open the Logical Dimension dialog box. 2 . Name the logical dimension H2 Product.

3 . Click OK. The logical dimension is added to the Sample Sales business model.

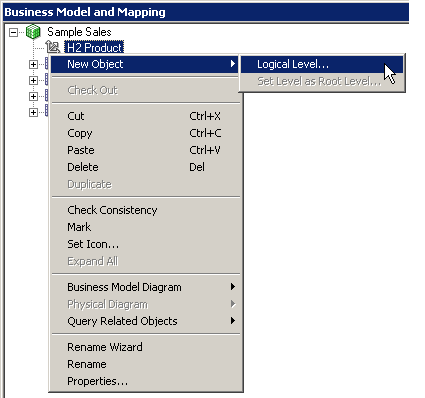
Create Logical Levels 1. Right-click H2 Product and select New Object > Logical Level.
2 . Name the logical level of Product Total.

3 . Because this level represents the grand total for products, select the Grand total level checkbox. Note that when you do this, the Supports rollup to a higher level of aggregation field is grayed out and protected.
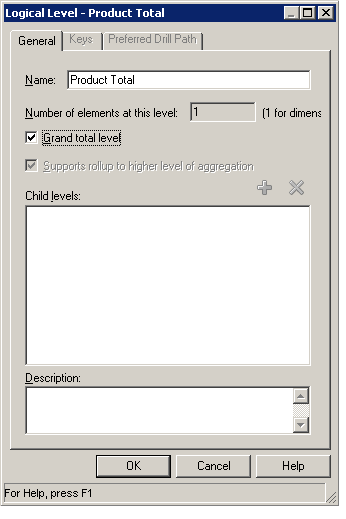
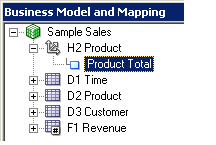
4 . Click OK to close the Logical Level dialog box. The Product Total level is added to the H2 Product logical dimension.
5 . Right-click Product Total and select New Object > Child Level to open the Logical Level dialog box.
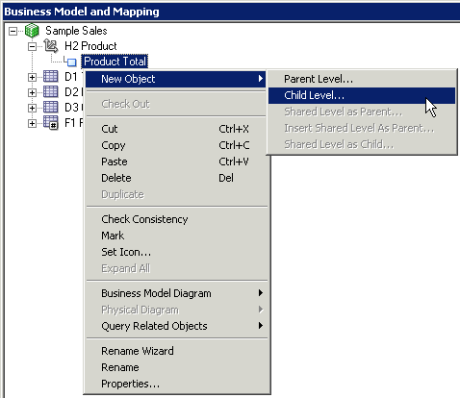
6 . Name the logical level Product Brand.
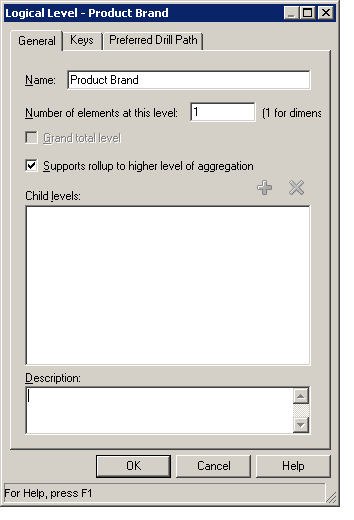
7 . Click OK to close the
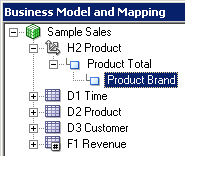
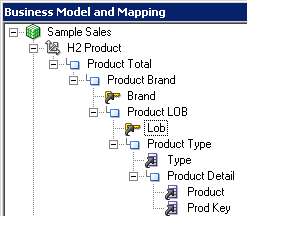
8 . Repeat the steps to add the following child levels: Product LOB as a child of Product Brand
Product Type is a child of Product LOB
Product Detail as a child of Product Type
Use the screenshot as a guide:

Associate Logical Columns with Logical Levels
1 . Expand the D2 Product logical table.

2 . Drag the Brand column from D2 Product to the Product Brand level in H2 Product.
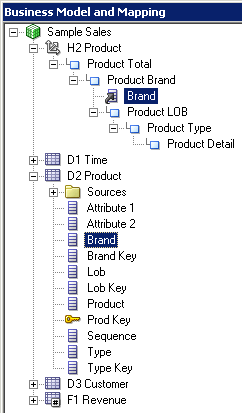
3 . Continue dragging logical columns from the D2 Product logical table to their corresponding levels in the H2 Product logical dimension:
| Logical Column | Logical Level |
| Lob | Product LOB |
| Type | Product Type |
| Product | Product Detail |
| Prod Key | Product Detail |
Your results should look similar to the screenshot:
Set Logical Level Keys
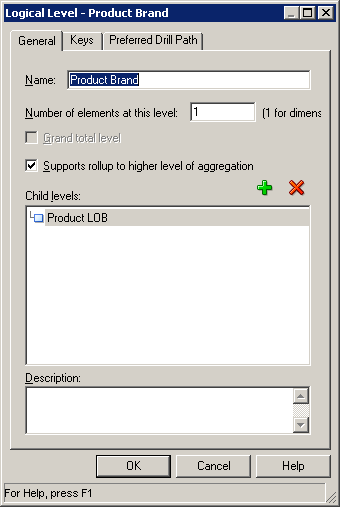
1 . Double-click the Product Brand logical level to open the Logical Level dialog box. On the General tab, notice that the Product LOB child level is displayed.
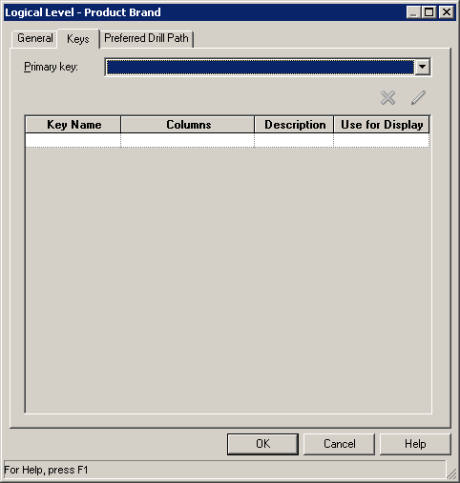
2 . Click the Keys tab.
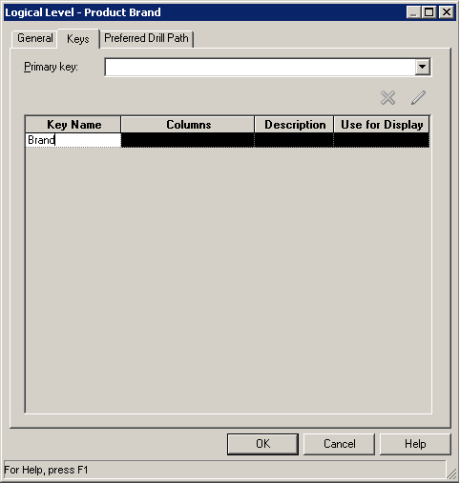
3 . Enter Brand for Key Name.
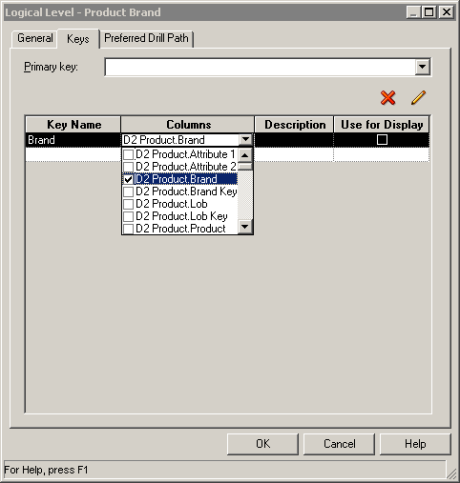
4 . In the Columns field, use the drop-down list to select the D2 Product. Brand.
5 . Check Use for Display. When this is selected, users can drill down to this column from a higher level.
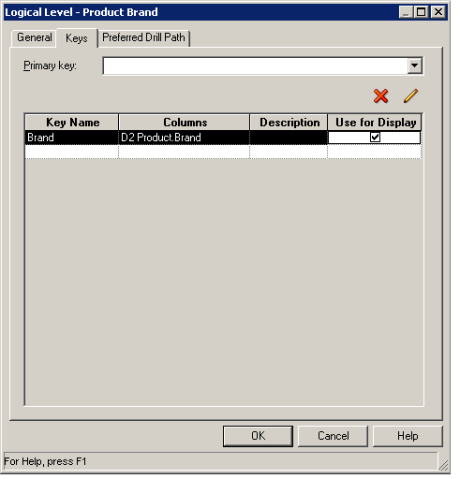
6 . Set Brand as the Primary key.
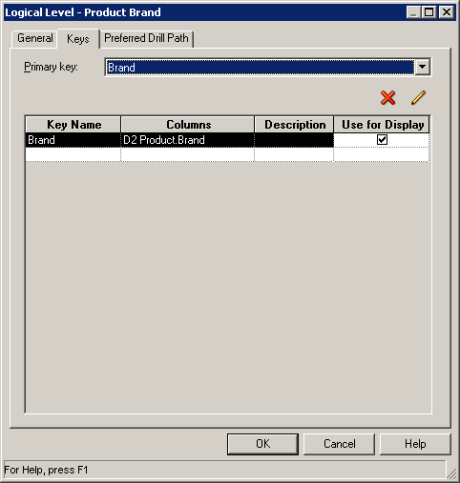
7 . Click OK to close the Logical Level dialog box. The icon changes for Brand to show that it is the key for the Product Brand level.

8 . Use a different technique to create a logical level key: Right-click Lob for the Product LOB level and select New Logical Level Key to open the Logical Level Key dialog box.

9 . In the Logical Level Key dialog box, accept the defaults and click OK.
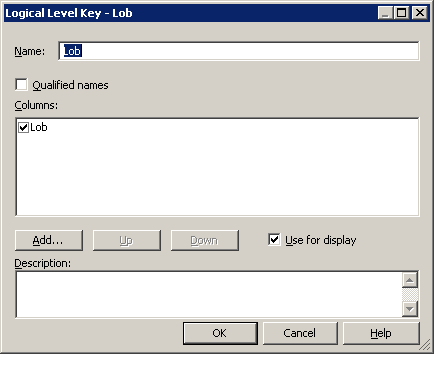
10 . The icon changes for Lob to show that it is the key for the Product LOB level.
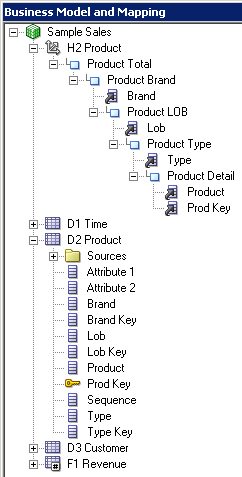
11 . Use either method to set the remaining keys for the H2 Product logical dimension:
| Logical Level | Logical Level Key | Use for Display |
| Product Type | Type | Yes |
| Product Detail | Product | Yes |
Your results should look similar to the screenshot:

Please note that the Detail level (lowest level of the hierarchy) must have the column that is the logical key of the dimension table associated with it and it must be the key for that level: Prod Key in this example. 12. Set Prod Key as the primary key for the Product Detail level. Hint: Double-click the level and select the Keys tab.
You liked the article?
Like : 0
Vote for difficulty
Current difficulty (Avg): Medium
About Author

Name
TekSlate is the best online training provider in delivering world-class IT skills to individuals and corporates from all parts of the globe. We are proven experts in accumulating every need of an IT skills upgrade aspirant and have delivered excellent services. We aim to bring you all the essentials to learn and master new technologies in the market with our articles, blogs, and videos. Build your career success with us, enhancing most in-demand skills in the market.
Stay Updated
Get stories of change makers and innovators from the startup ecosystem in your inbox